
Below is a test edit guideline for creatives applying as Photo Editor.
Kindly download asset below and check the tips/guide for better understanding. For editing queries, You can message me s. You may message me directly for personal questions.

Download Main Asset Here
Inclusion: Frequency Separation, Shadow and Highlight (adjustable), and combination of both.
Frequency Separation Action
Skin Texture: Mainly changes/moves an image's texture only.
Shadow & Color: Changes the color only. This layer is the blurred one.
Shadow & Color: Changes the color only. This layer is the blurred one.
Shadow and Highlight (using mask)
Shadow: Darkens the surface
Highlight: Lightens the surface
Highlight: Lightens the surface

Sample Editing
For starters, our editing job is mainly to create a natural-looking color correction and clean-up of photos. For this test project, I need you to clean-up these photos and time how long you were able to edit the sample photos.
Background
Editing backgrounds may either require extension or clean-up. Make sure to try cleaning the backdrop as you see fit. Better if it is not too obvious. Use spot healing brush or patch tool.
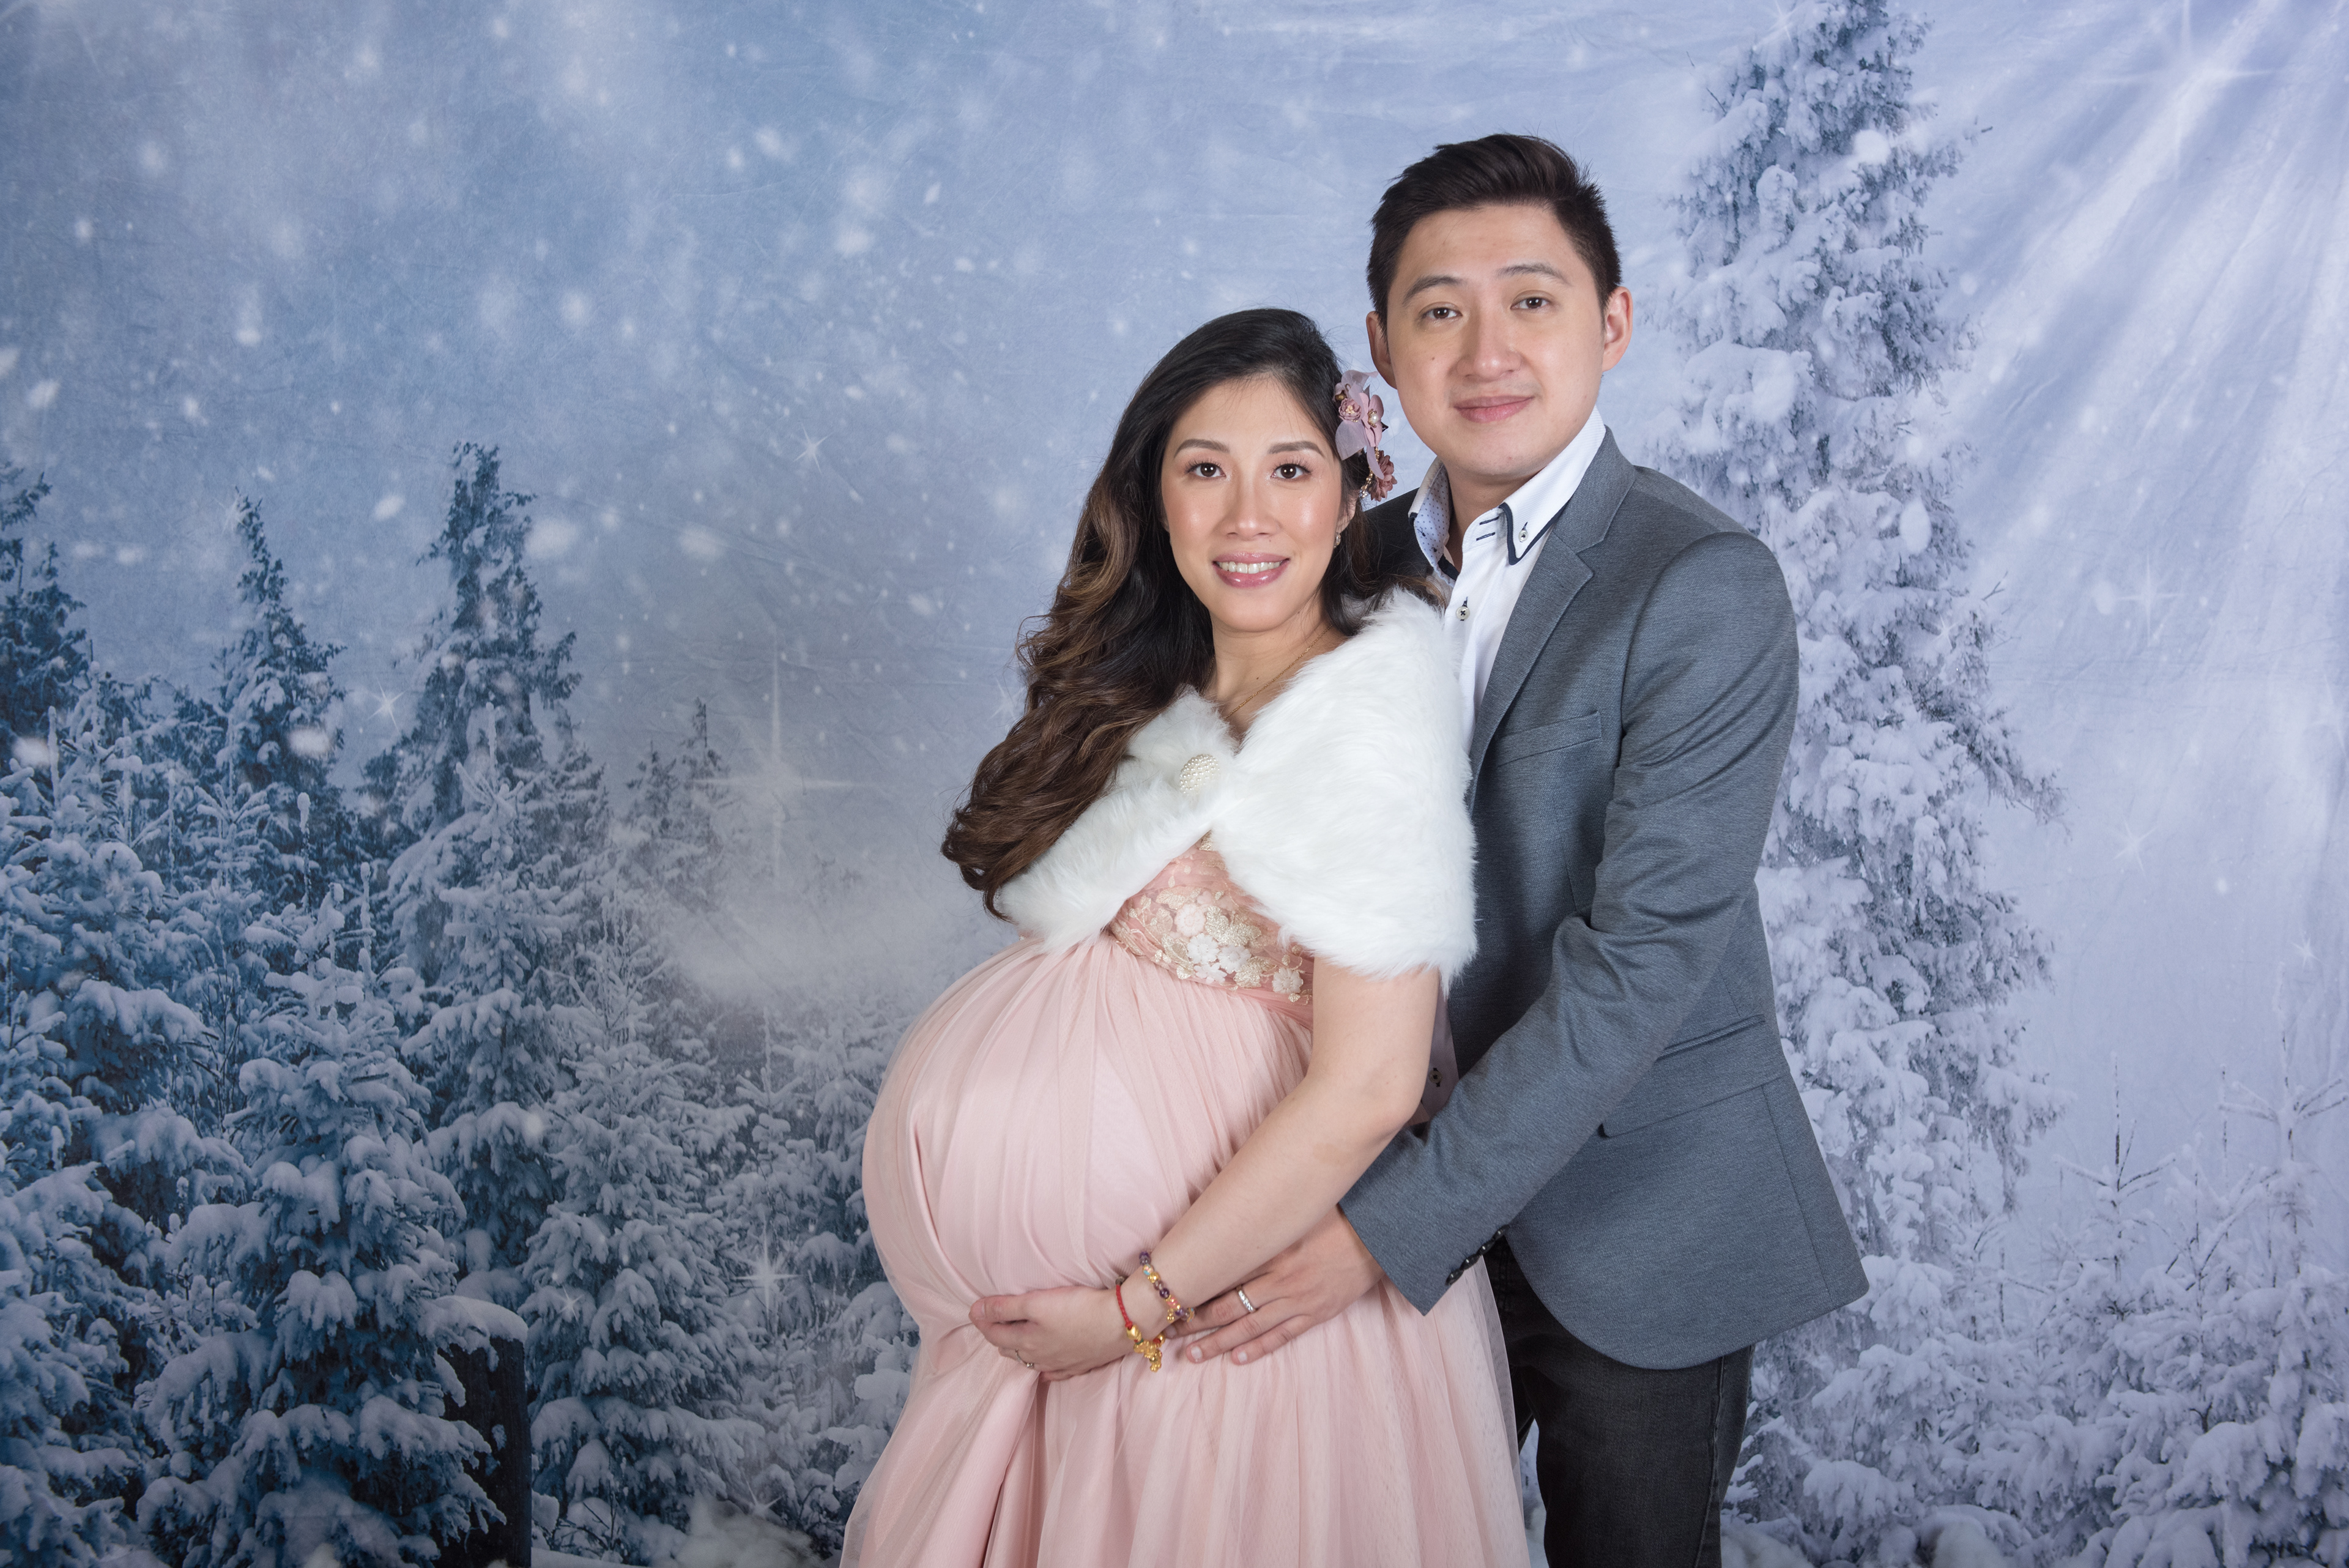
Unedited
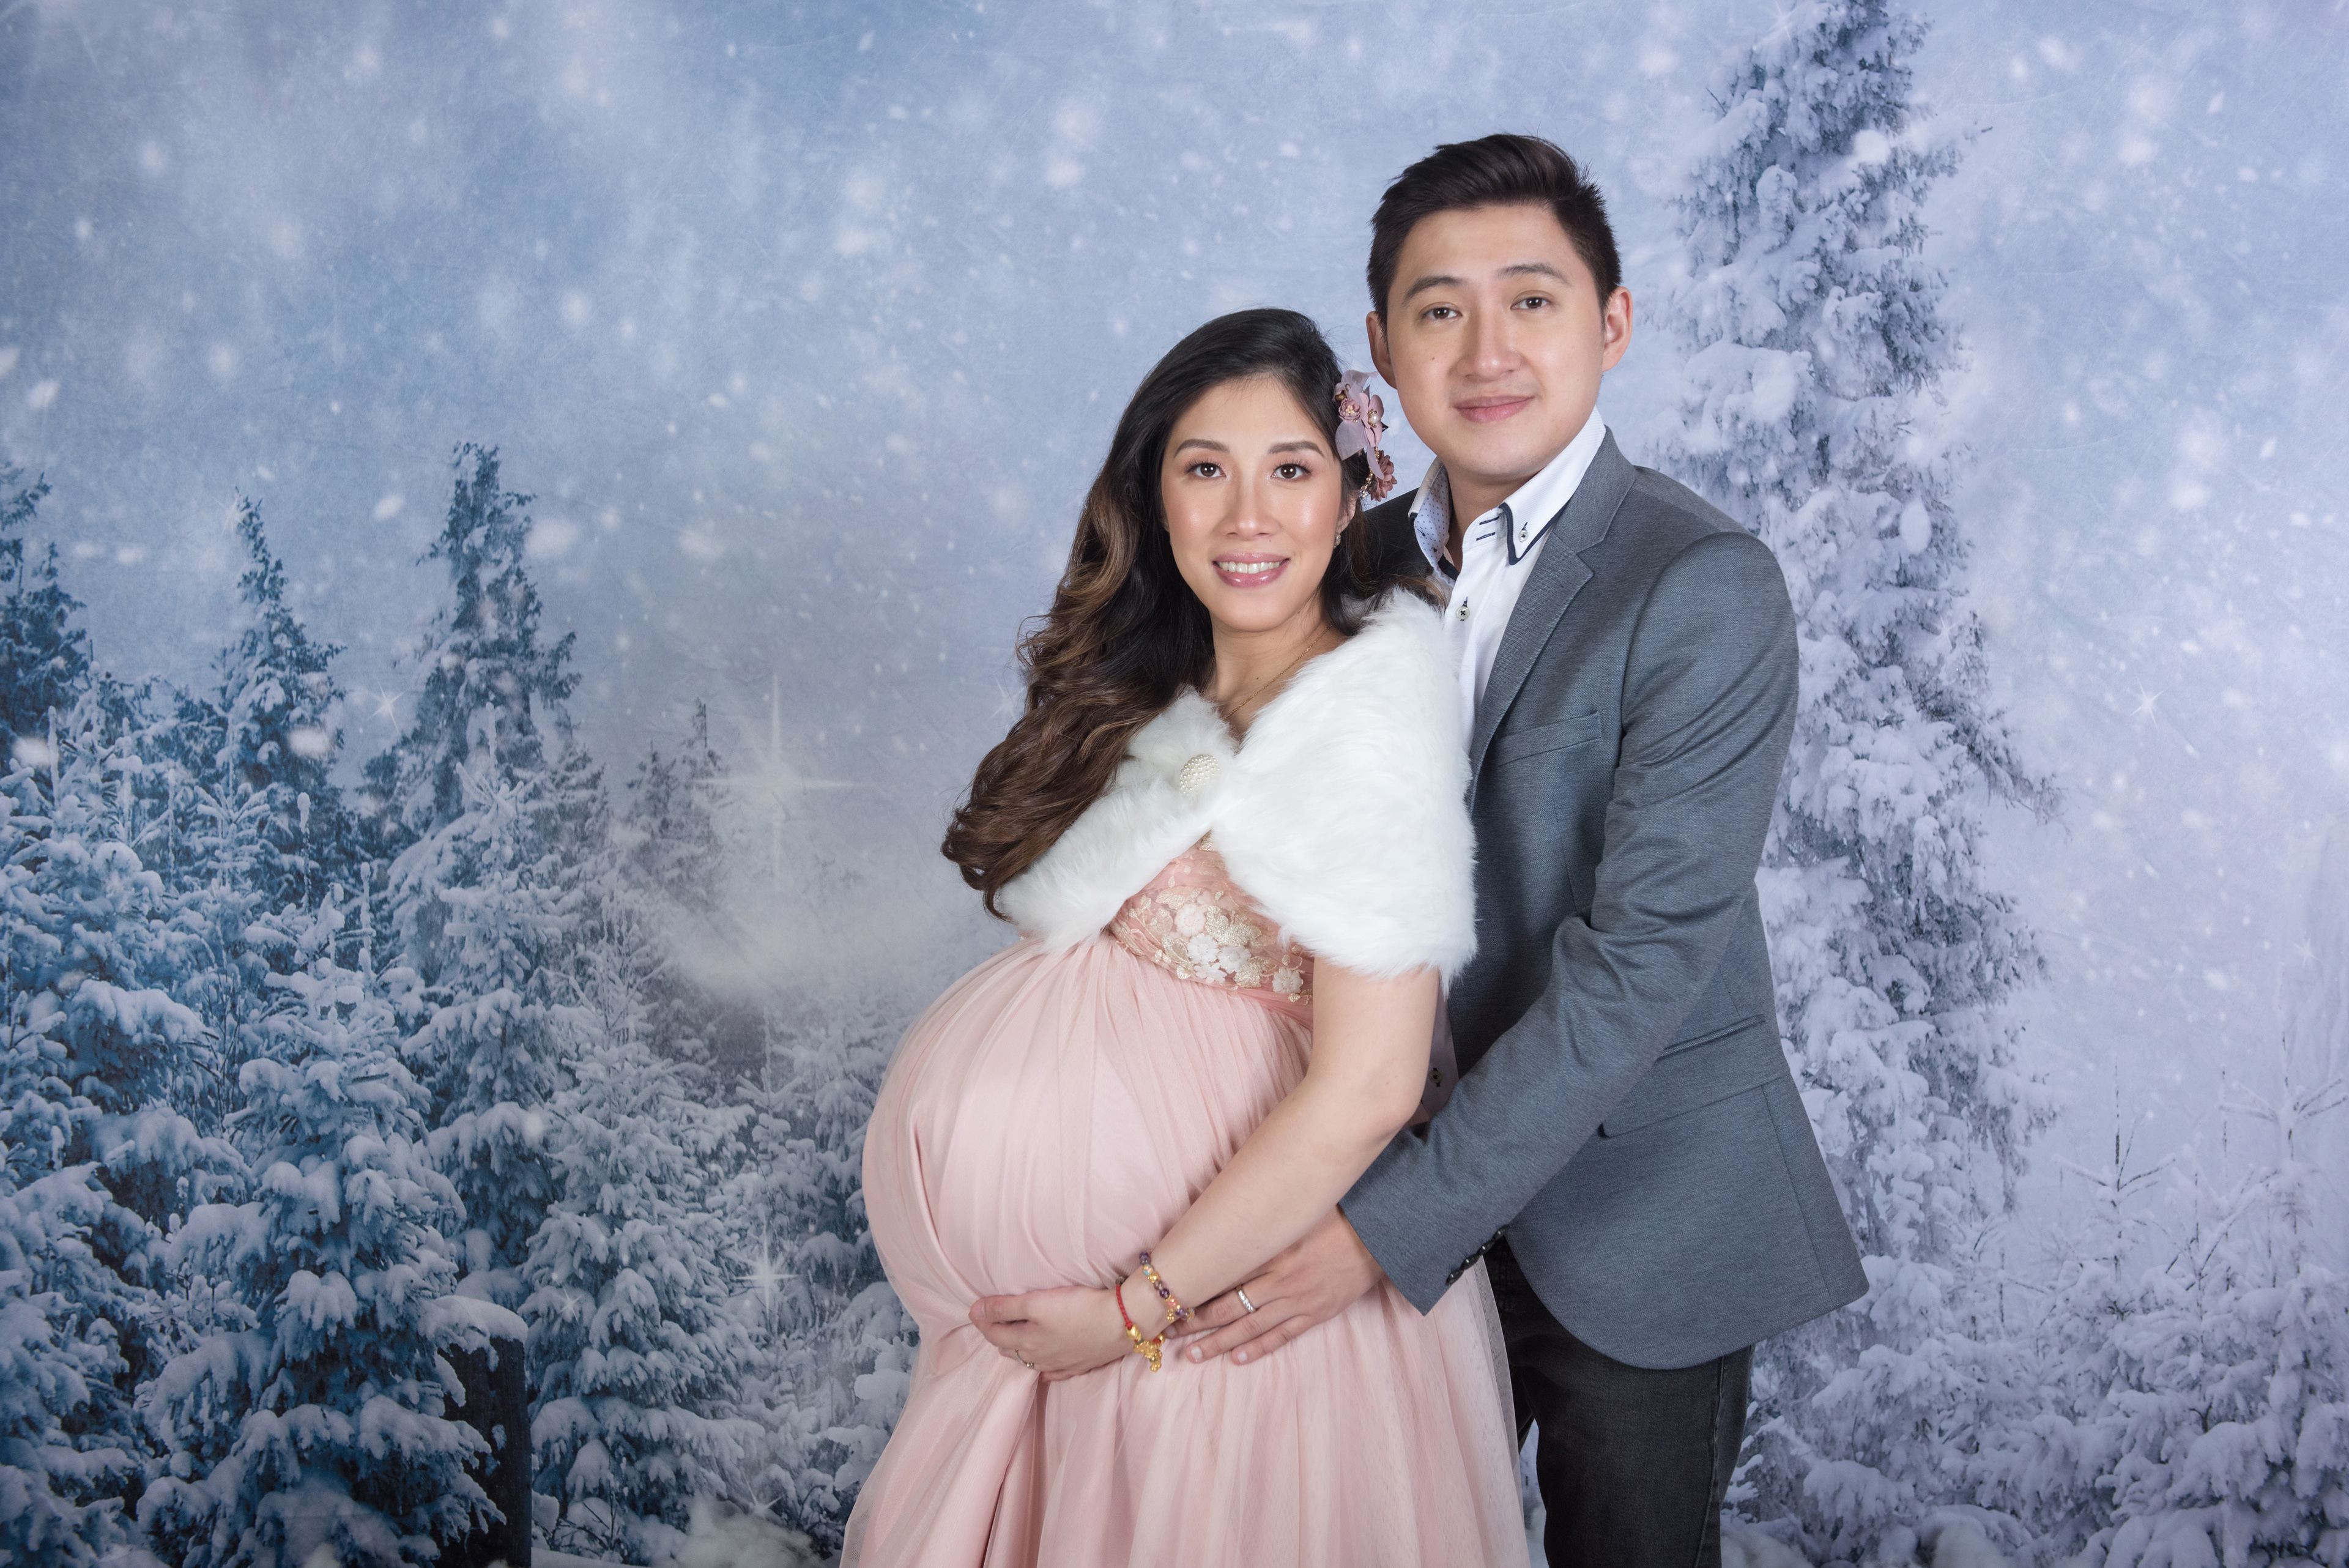
Edited
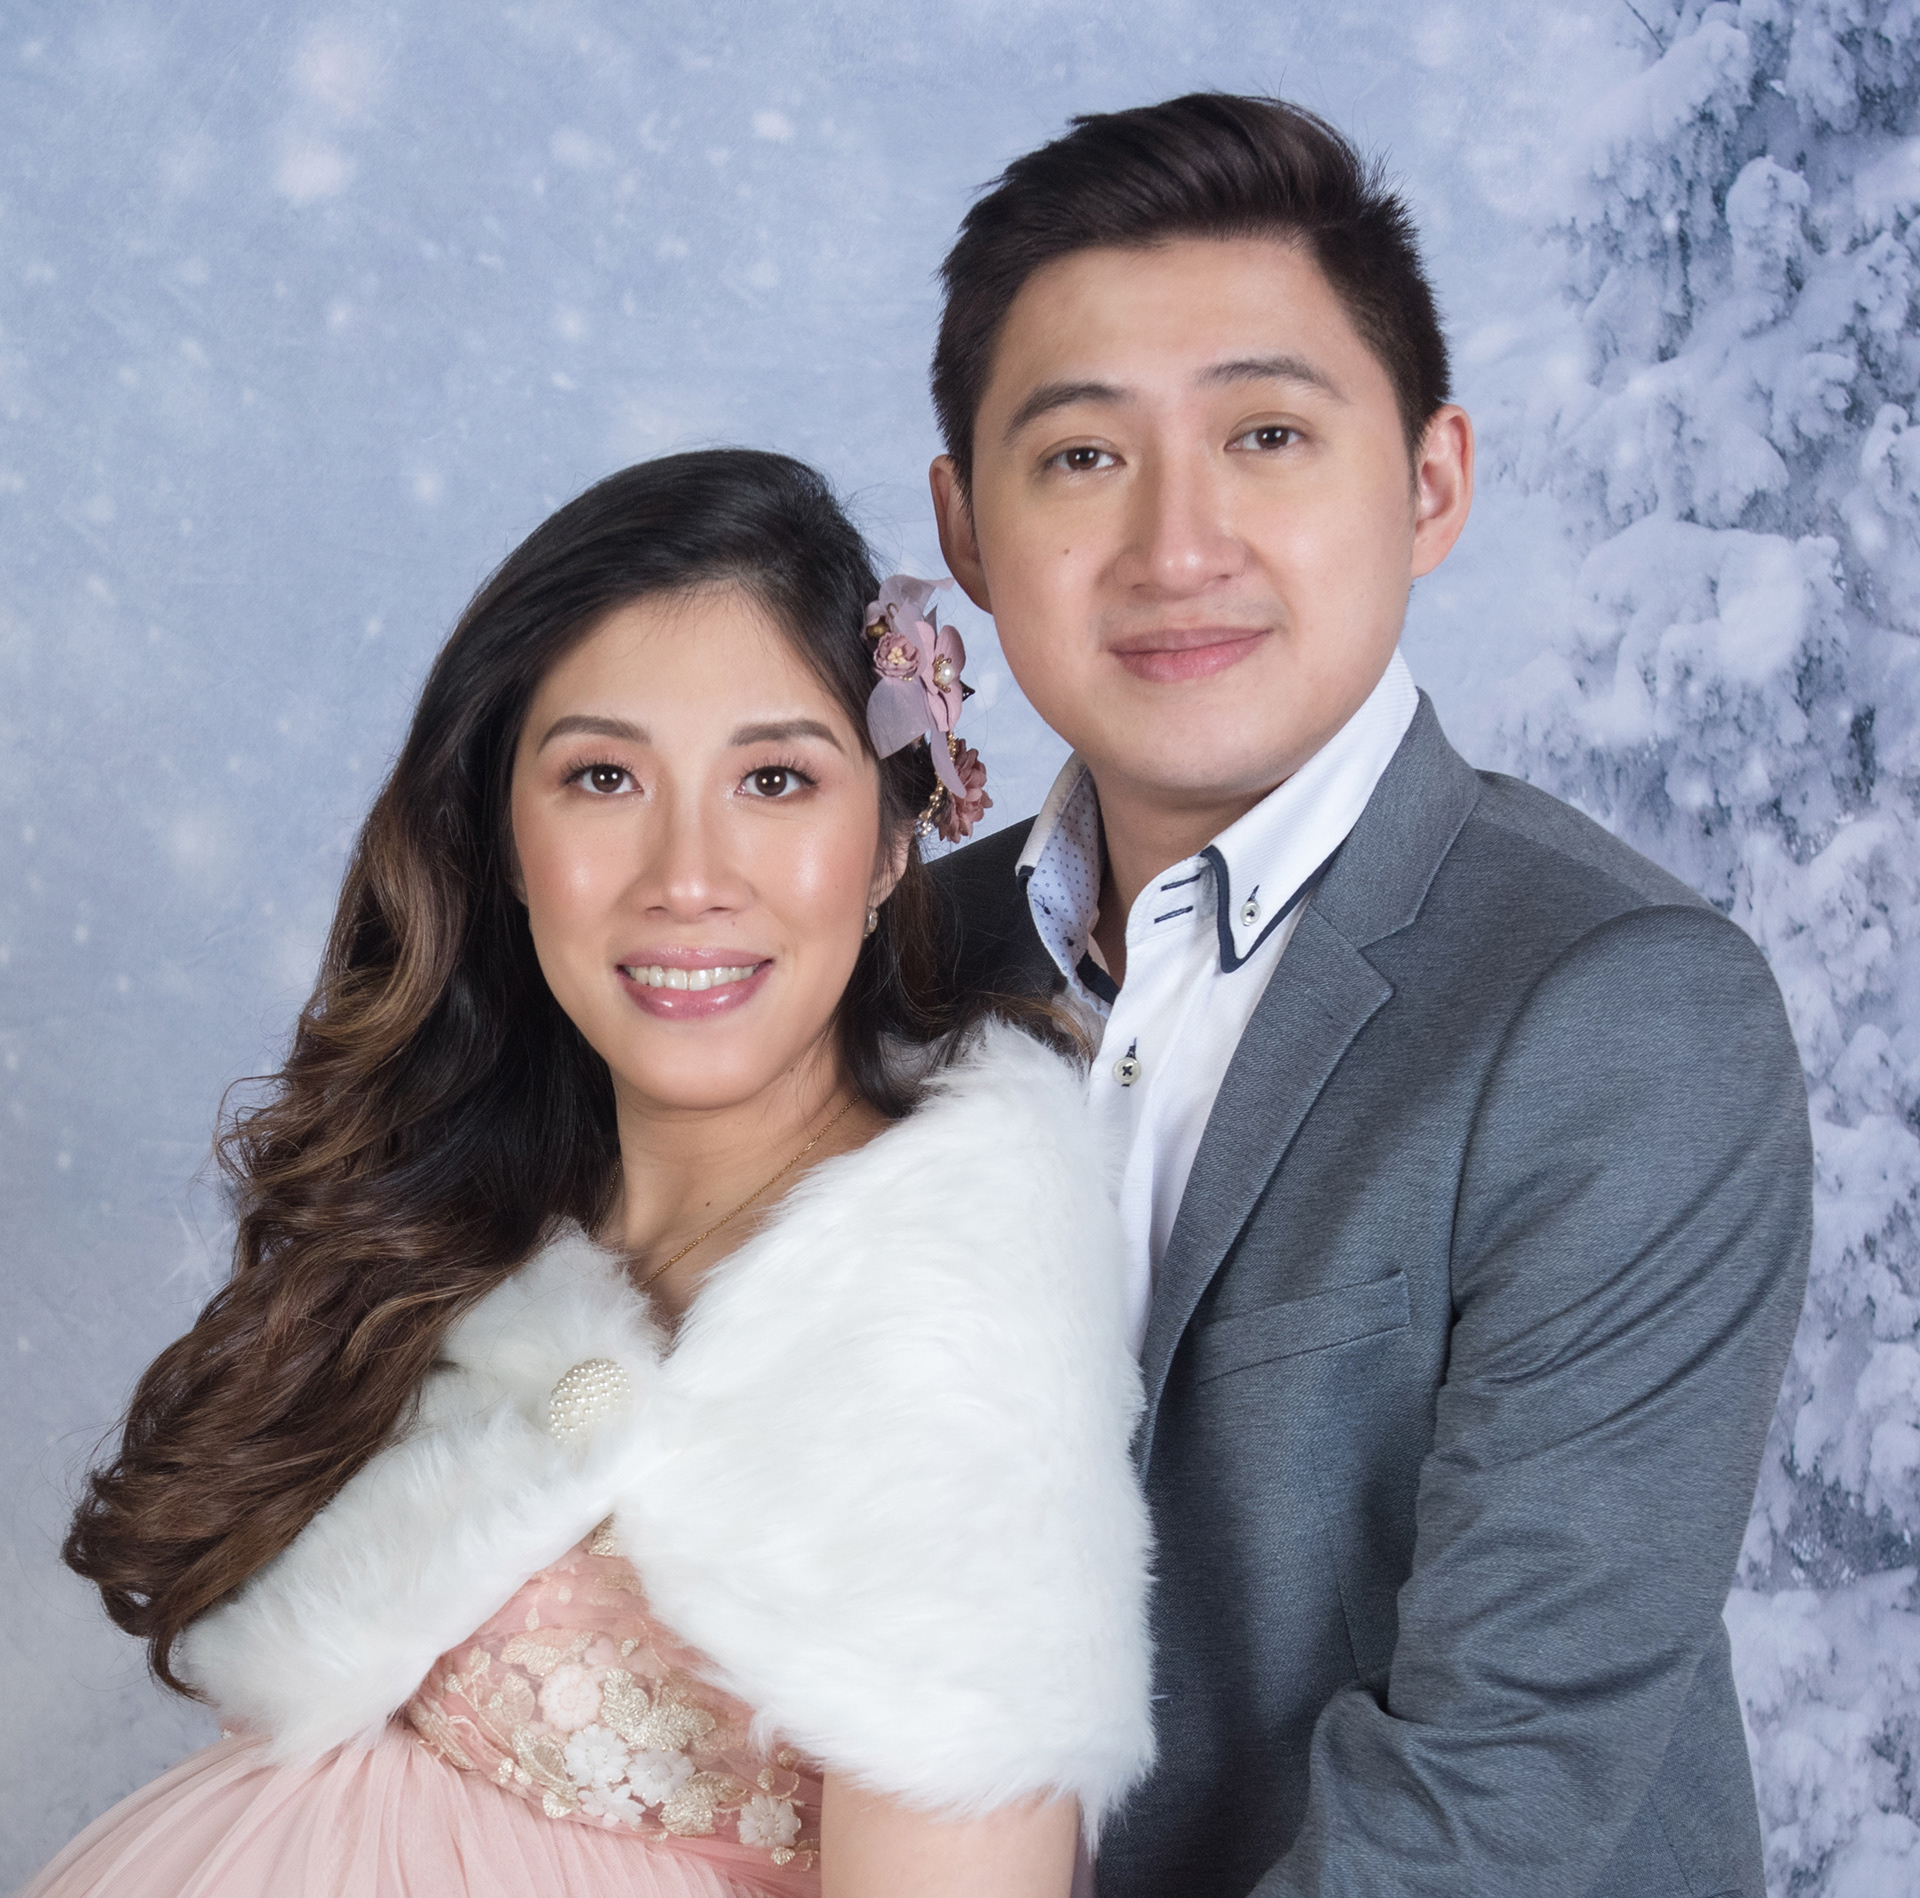
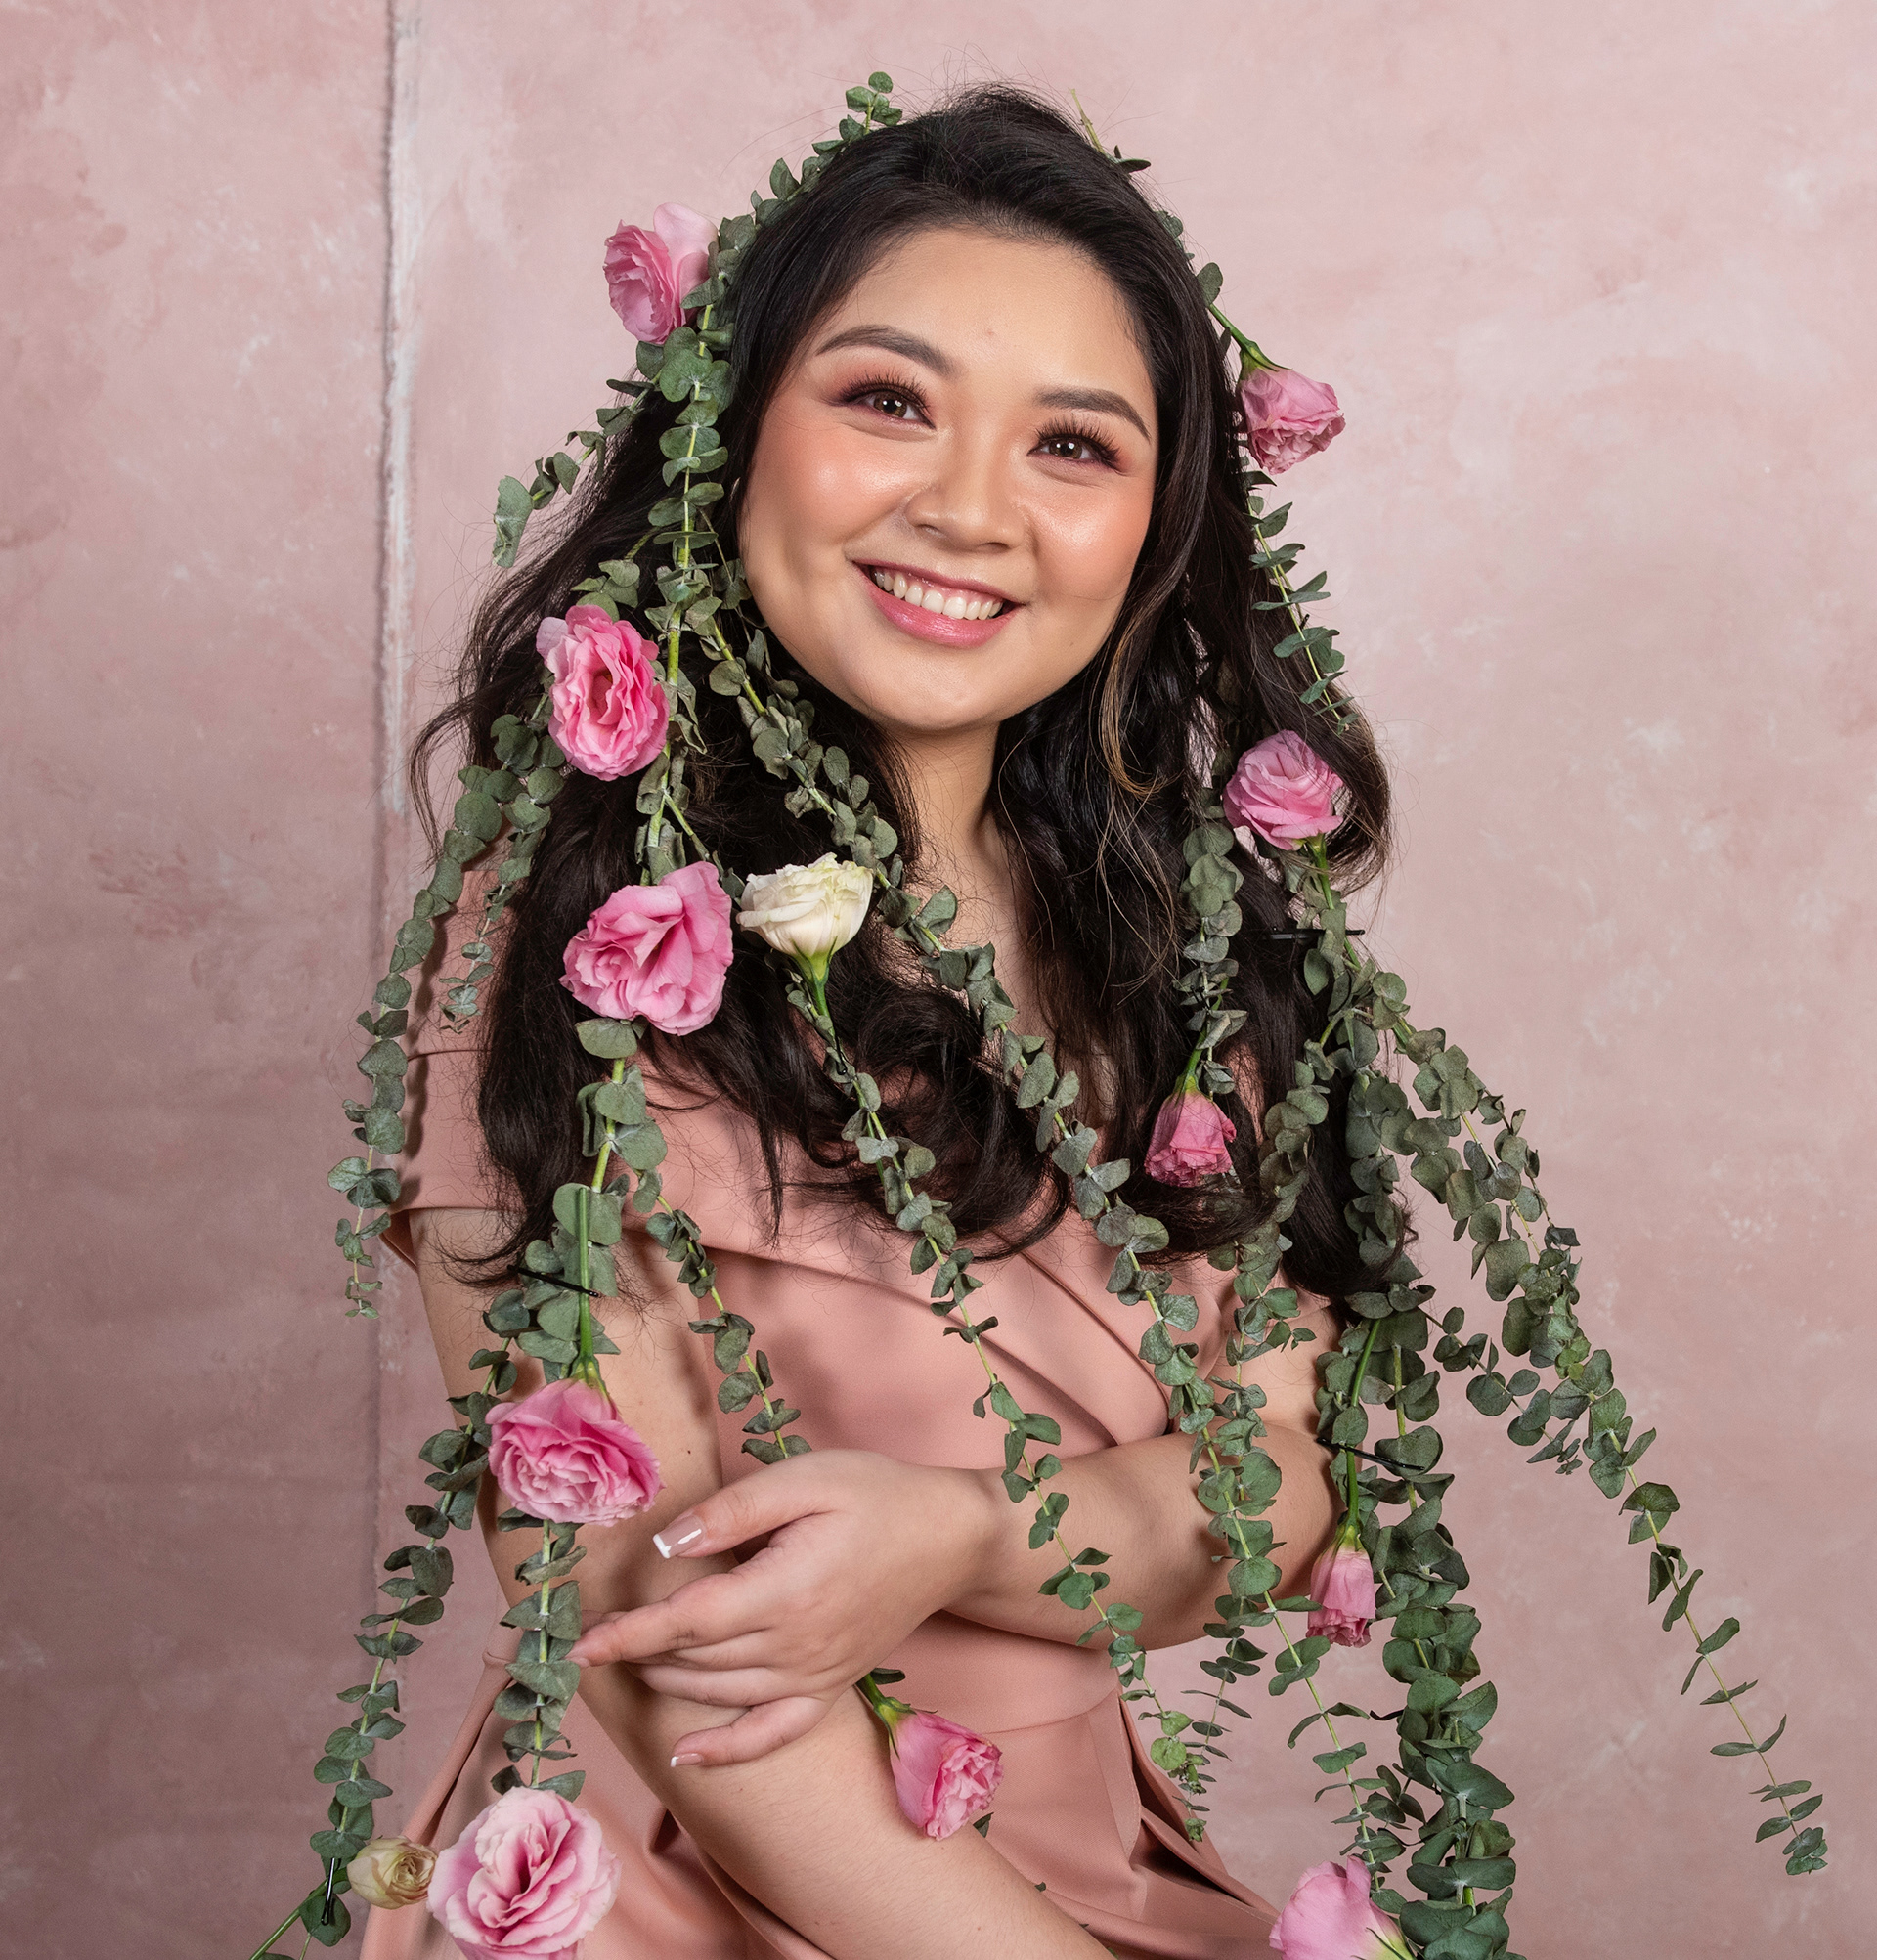
Subject / Skin / Faces
Use Skin Texture (in Frequency Separation) to remove zits, weird spots, lessen wrinkles and rough pores.
Use Shadow & Color (in Frequency Separation) to lighten dark eyebags or remove unwanted skin color.
Mask some Skin Texture to slightly soften/smoothen rough skin. No need to use this for subjects with good skin texture.
Use Shadow & Color (in Frequency Separation) to lighten dark eyebags or remove unwanted skin color.
Mask some Skin Texture to slightly soften/smoothen rough skin. No need to use this for subjects with good skin texture.

Unedited
Edited
Unedited

Edited
Using Shadow and Highlight
Use Shadow Layer Mask to darken the side of the face, jawline, cheeks, eyebrows, eyelids, side of the nose, and other parts where shadows should be enhanced.
Use Highlight Layer Mask to lighten the face, forehead, corner of eyelids, iris of the eyes (especially with catchlight), nose line, upper cheek area, chin, highlights in the hair, and other areas that needs to be lightened up.
Where shadows are added

Where highlights are added

File Handling
1. Do not change any file names.
2. Do not resize, crop, or change any color in the test edits.
3. Use and save photos in sRGB color profile.
4. Once finished, upload your work inside the same link where you downloaded the test edit. Compress the folder and rename to "[Your Name] - Test Edit"
5. Share your test edit link to the same email as your application. Kindly share how long did it take you editing on average too.

testing Schedule
Test Edit Start: January 5, 10am
Final Deadline: January 7, 3pm
Final Deadline: January 7, 3pm
You can submit the project any time within the deadline period.
Thank you and good luck!